Director Mode and Scene Creator
Director Mode and Scene Creator are gameplay modes introduced in the PC version of Grand Theft Auto V together with the Rockstar Editor, and later added to the Xbox One and PlayStation 4 versions of the game with the Freemode Events Update, on 15 September, 2015. They are in-game tools that allow players to customize characters and add props, creating scenes that can be recorded and edited with Rockstar Editor.
Director Mode
Director Mode allows players to interact with GTA V as a movie set where one can customize the character appearance, weather conditions, vehicle and pedestrian density, and much more. It was first introduced in the PC version of the game with the Rockstar Editor, and later added to the console title in 2015.
There are 3 ways to access Director Mode:
-
On the game pause menu go to
Rockstar Editortab (last tab on the right) and selectDirector Mode. -
Press the
- M
key on PC to bring up the Interaction Menu and select Director Mode -
Press the
- Up
arrow key to take out the in-game smartphone and dial 1999578253 to activate Director Mode.Note: Director Mode is unavailable when the player is in a vehicle, wanted, or active in a mission.
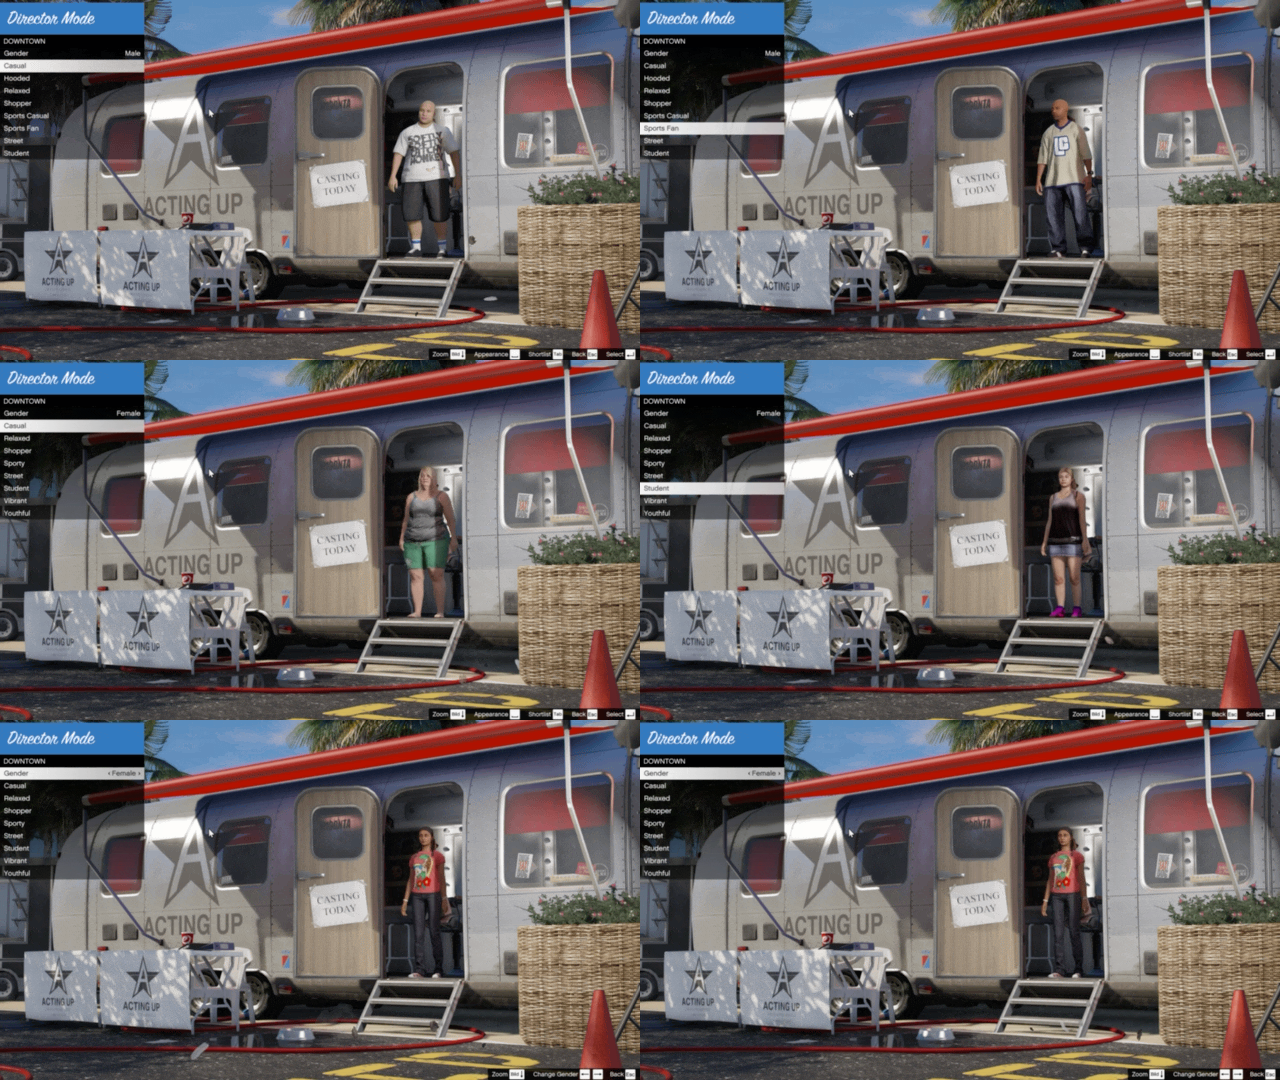
Once activated, the game will open up the main Director Mode scene showing a casting trailer with a menu from which the player can choose from a number of options. Here the player can change the appearance of their character by selecting a different model.

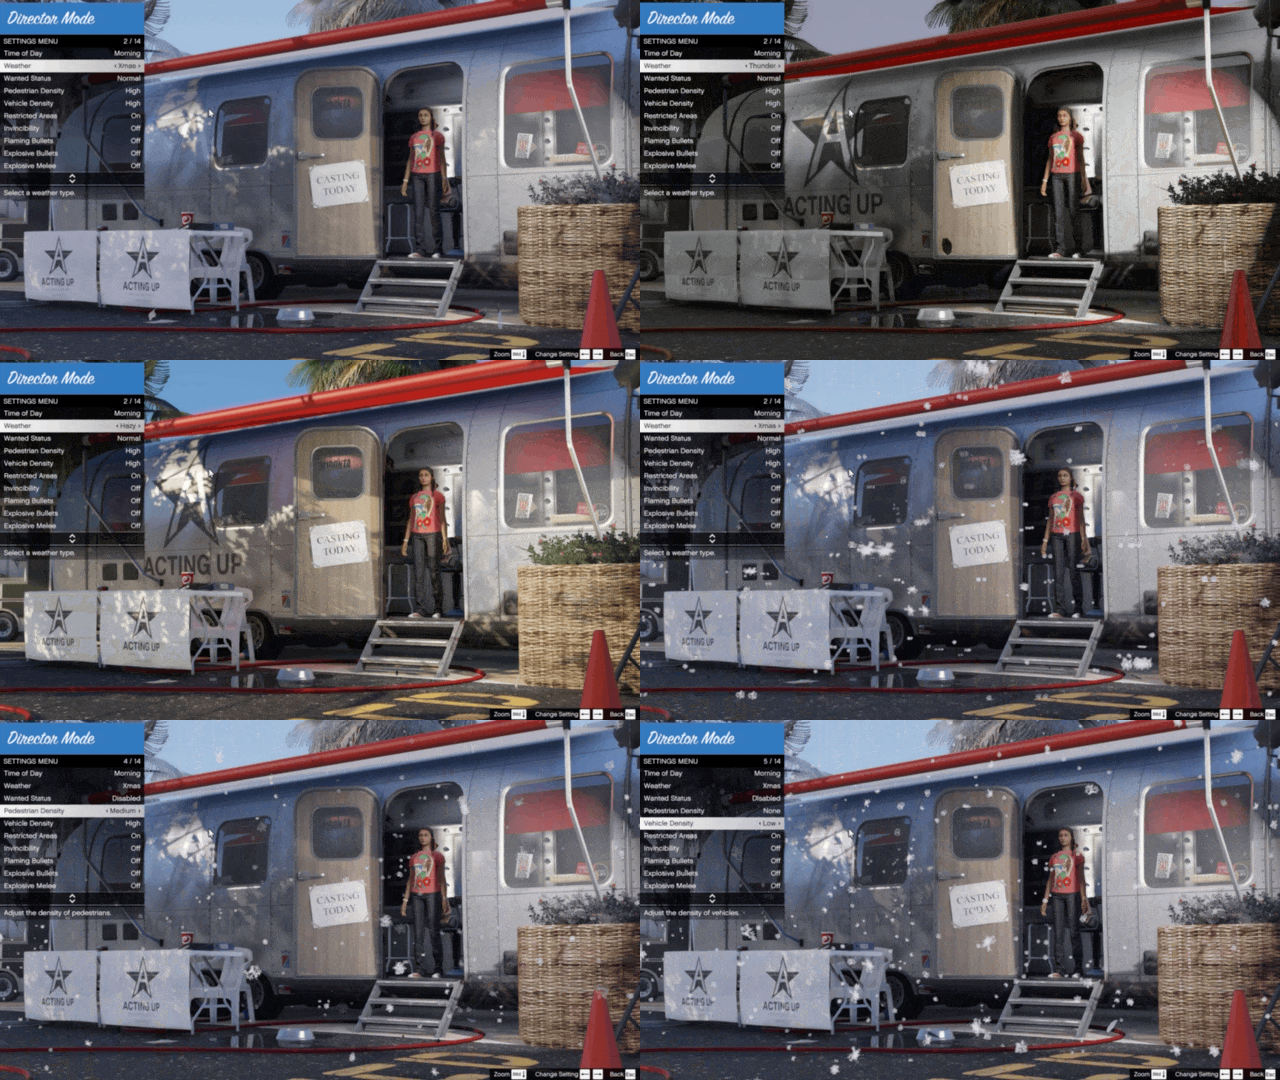
The player can also set the scene, manipulating the conditions of the game world as if it were a movie set: time of day, weather conditions, populations and vehicle density can all be controlled from the Director Mode menu.

Here is the full list of options available in the Director Mode casting trailer menu:
| Menu Item | Values |
|---|---|
| Actors | Animals, Beach, Bums, Costumes, Downtown, Emergency, Services, Gangs, Heist Characters, Laborers, Military, Online Characters, Professionals, Special Characters, Sports, Story Characters, Transport, Uptown, Vagrants |
| Time of Day | Midnight, Pre-Dawn, Dawn, Morning, Midday, Afternoon, Sunset, Dusk |
| Weather | Clear, Broken, Cloud, Overcast, Hazy, Xmas (snow), Smog, Fog, Rain, Thunder |
| Wanted Status | Normal, Low, Medium, High, Disabled |
| Pedestrian Density | Normal, Low, Medium, High, None |
| Vehicle Density | Normal, Low, Medium, High, None |
| Restricted Areas | On/Off |
| Invincibility | On/Off |
| Flaming Bullets | On/Off |
| Explosive Bullets | On/Off |
| Explosive Melee | On/Off |
| Super Jump | On/Off |
| Explosive Bullets | On/Off |
| Super Jump | On/Off |
| Slidey Cars | On/Off |
| Low Gravity | On/Off |
| Clear Area | On/Off |
Once the player has selected their actor and scene setup, they can click on Enter Director Mode to launch the actress into the game world. Note: first person view is only available if the three protagonists characters are chosen.
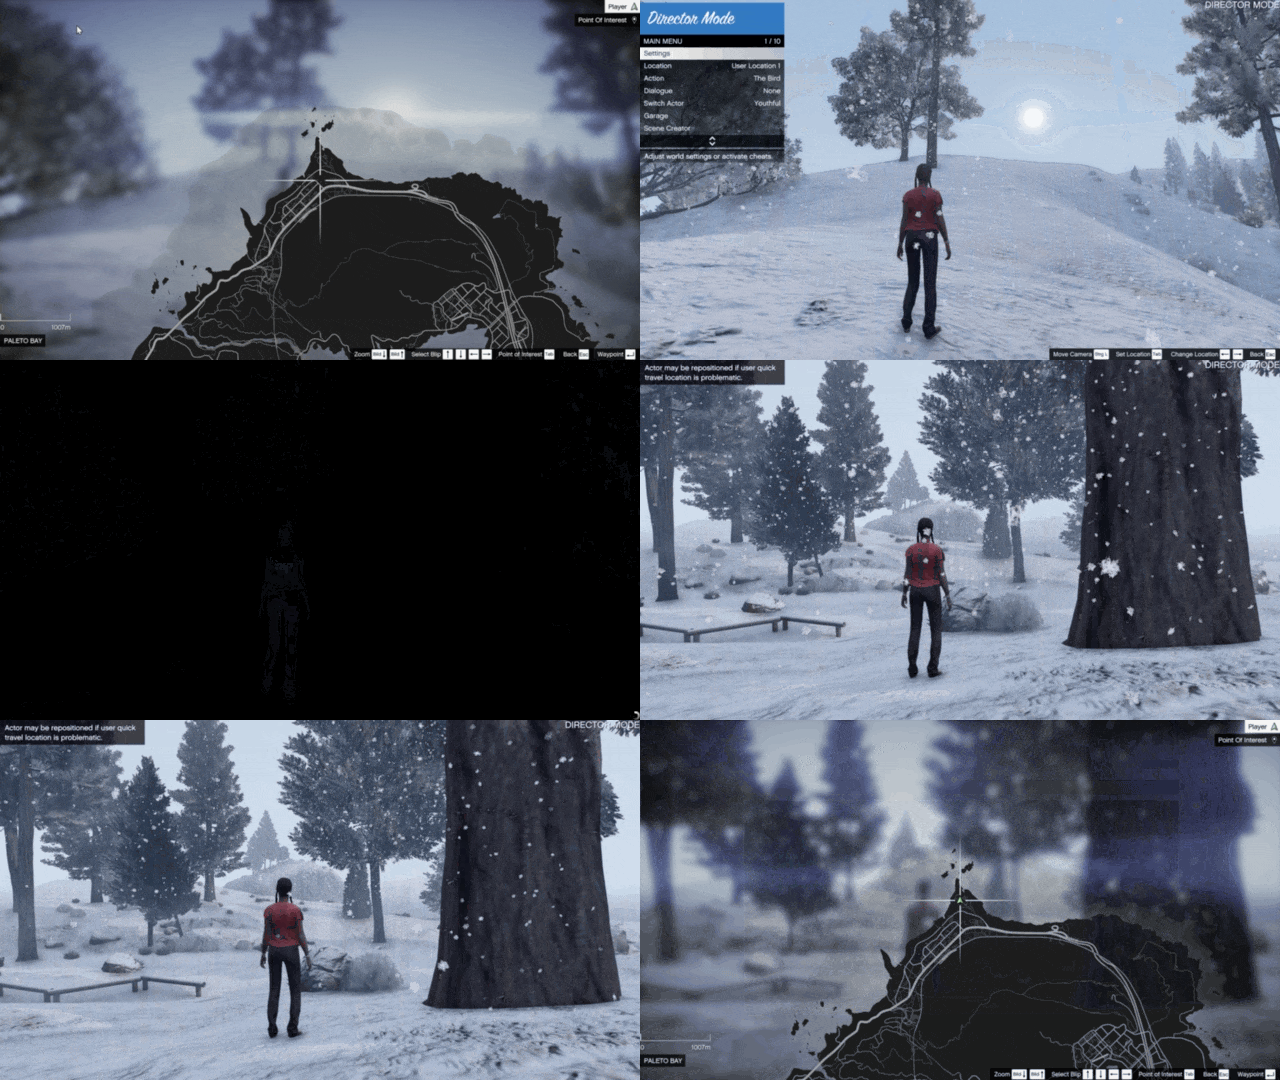
In Director Mode players can quickly travel to a predefined location across the game world. Create a waypoint on the Map from the main menu by selecting a destination on the map and press Left arrow key to select

Scene Creator
Scene Creator is a function within Director Mode that allows players to place props from the database of game assets, and save the created scenes.
When in Director Mode press the
You can add and edit placed props, save the scene, overwrite another scene or clear the scene entirely. There are 15 categoriesof props available in Scene creator, featuring both dynamic and static assets. You can place up to 50 props in one scene, 25 of which can be dynamic (such as explosive barrels, breakable barriers, etc.). Static props are listed in blue whereas dynamic props are listed in green. When you reach the 25 prop limit for dynamic props, they will be listed in red to indicate that no more items can be placed.

To place the chosen prop, walk around until you find a desired location. Pan the camera with the mouse while holding the
If the prop needs to be raised or lowered to ground level, press and hold the
Capturing Gameplay
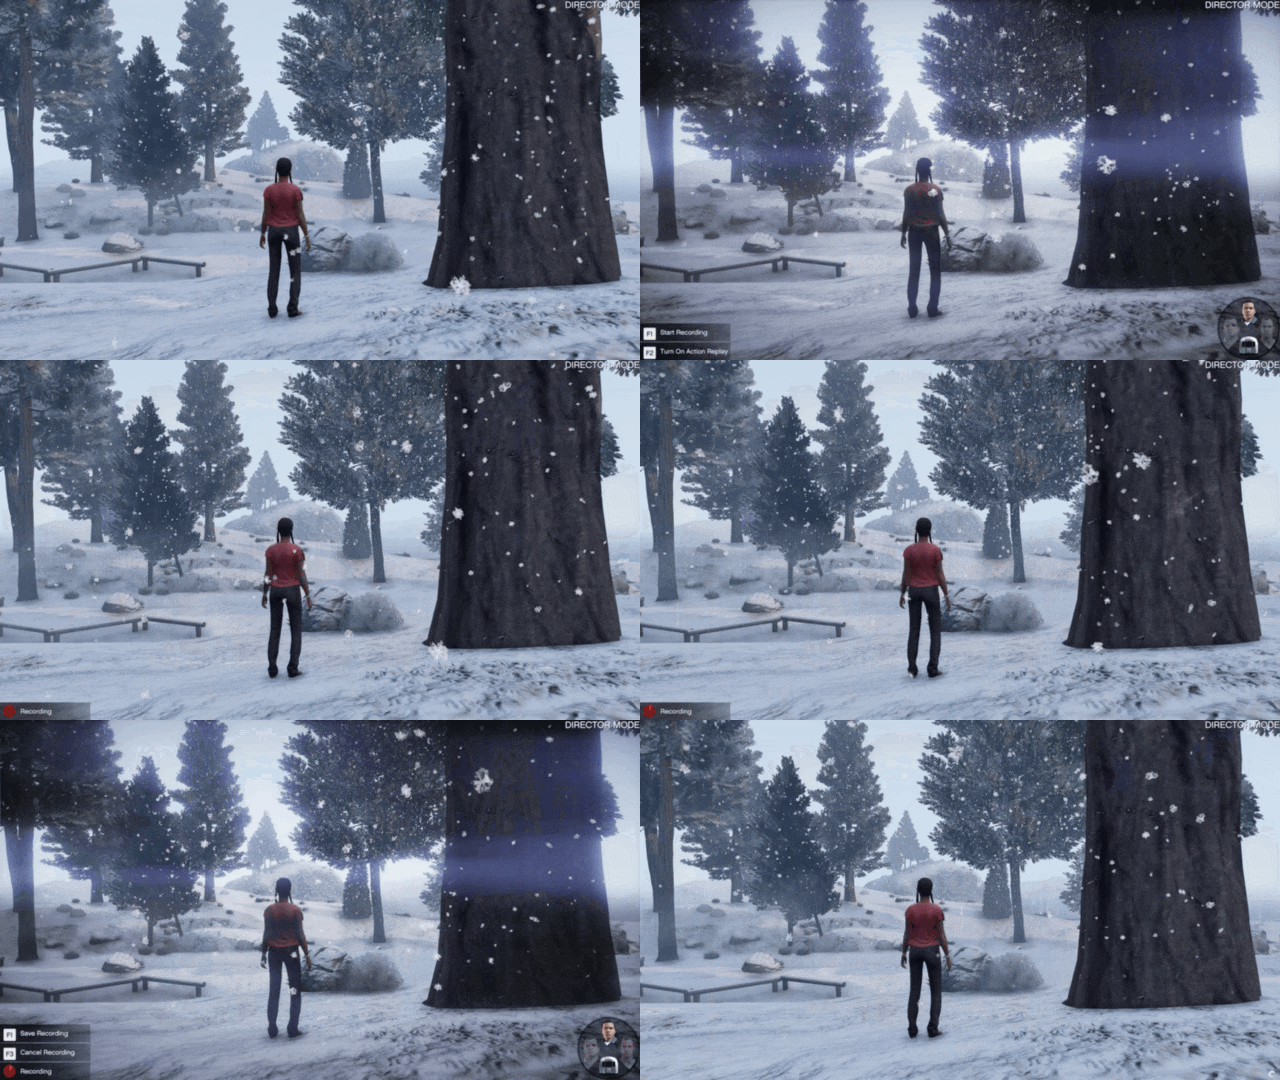
There are two ways of capturing gameplay: Manual Recording and Action Replay.
MANUAL RECORDING: Hold

ACTION REPLAY: This option records gameplay footage after the fact. Press
Recorded clips will be between 30 and 90s seconds in length, depending on how "busy" your action is. You will be notified if you are running out of space on your hard drive and you can define the amount of hard drive space you use for the Rockstar Editor by going to the game main menu in