Modifying The Game Map
CodeWalker is an application created by dexyfex that renders an interactive 3D Map for GTA V. Through CodeWalker you are able to permanently modify the architecture and objects inside the map, replacing textures and images with custom content.
Installation and setup
-
Go to the CodeWalker GTA V 3D Map + Editor page and click
- download
. Extract the content of the .zip folder and open the CodeWalker application. Once the GTA V installation folder has been found, the world view will load by default. Use- WASD
keys to move, and- Mouse Drag
to rotate the camera view.- Mouse Wheel
zooms in/out and controls the movement speed. -
Click on the
- arrow
on the top left of the screen, then select- Enable Mods
and- Enable DLC
.
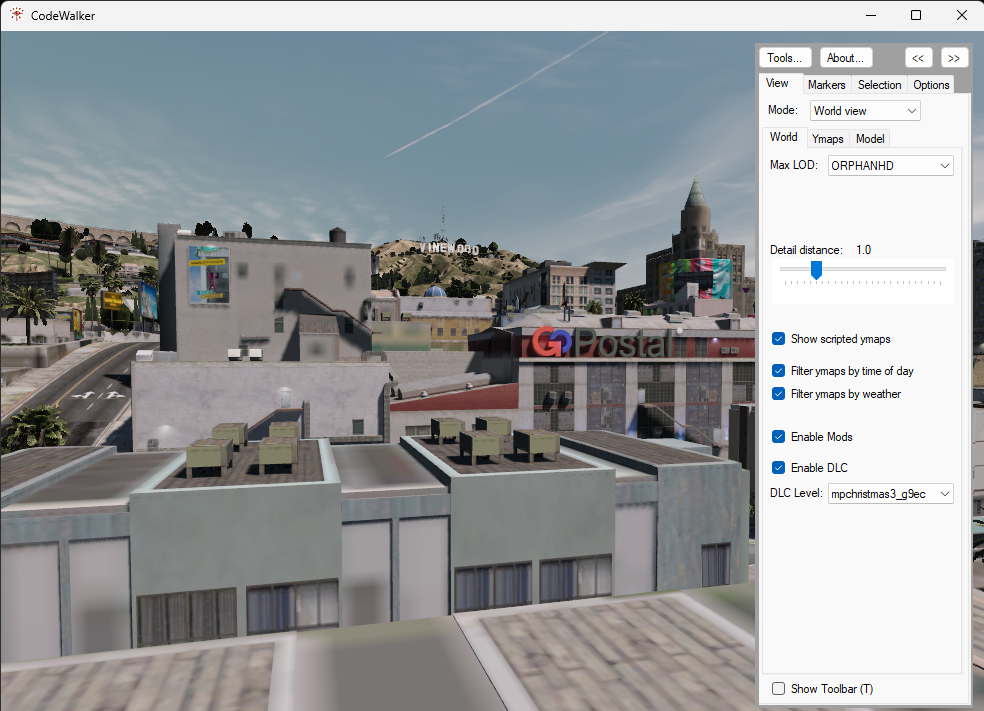
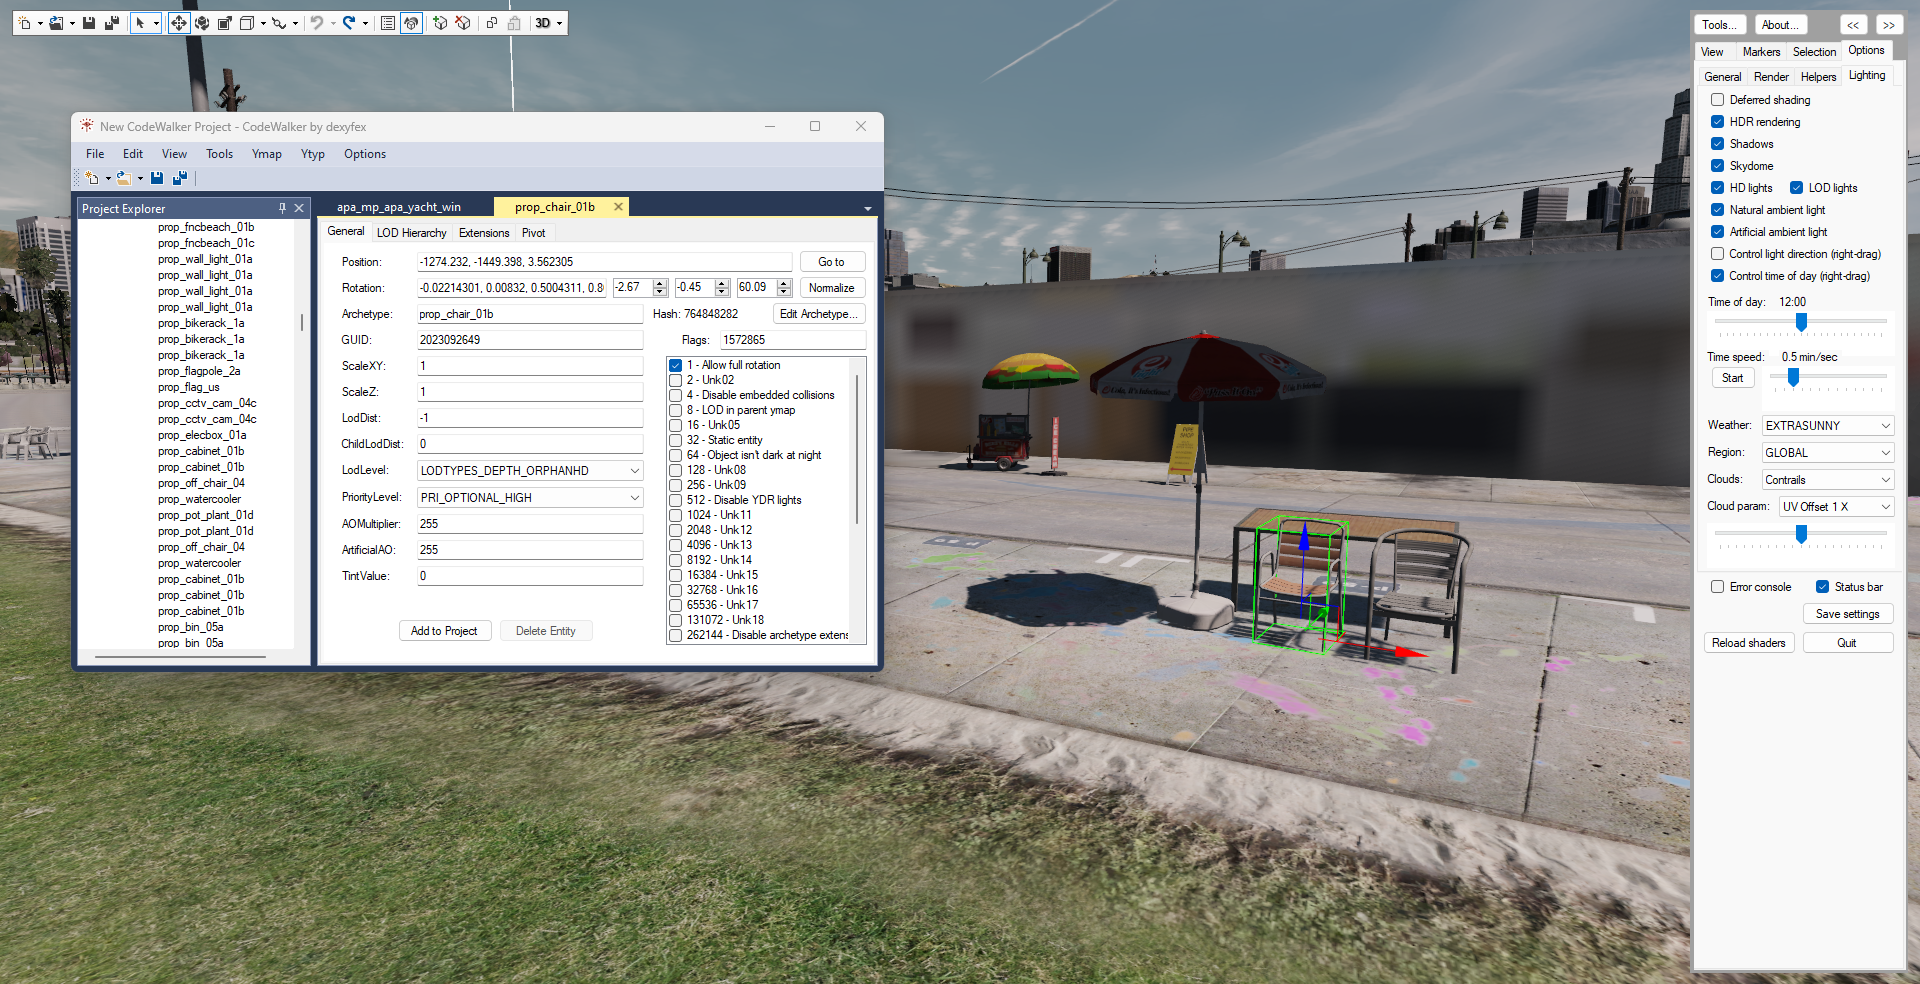
- On top of the panel click on
- Options
>- Lighting
. Deselect- Deferred
shading and in- Time of Day
set the time to 12:00. Then click on- Save Settings
.
Creating Custom Maps
- Next you are going to hit the
- T
key and select the- Select objects
tool from the tool bar.
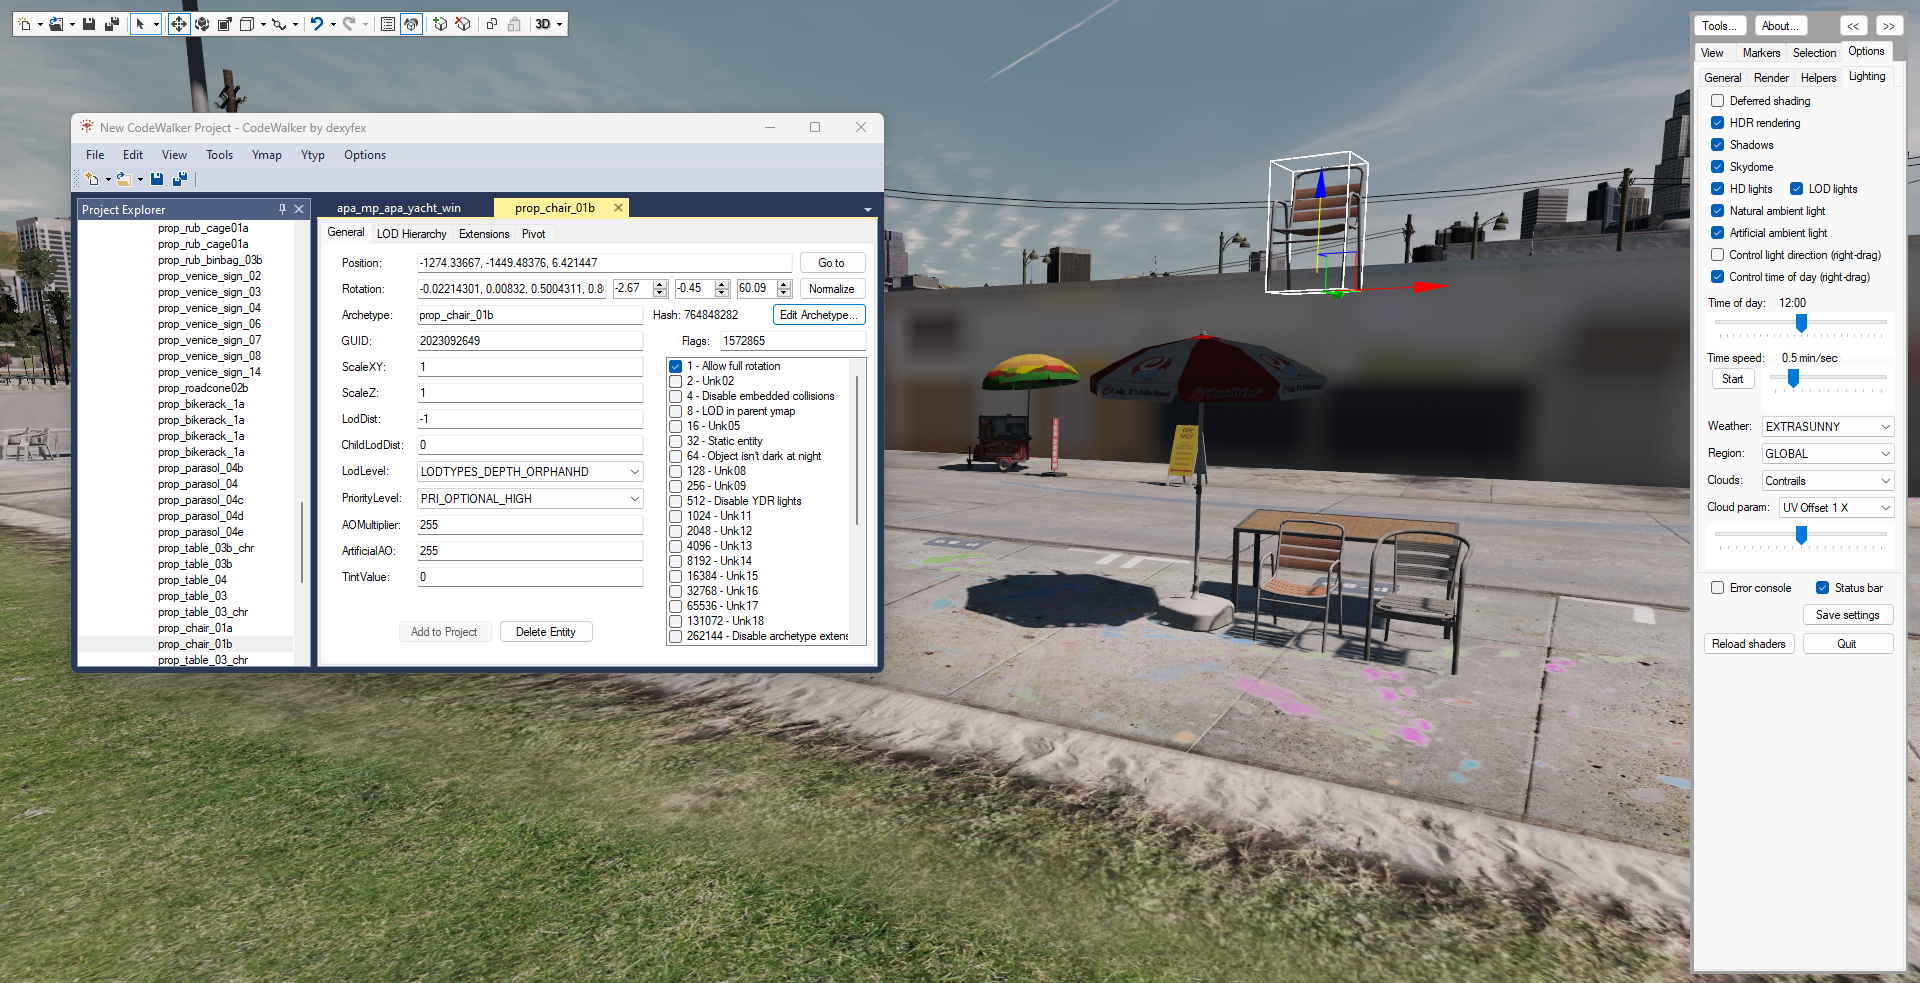
- Click on the
- Move
tool, which allows you to select things by right clicking on them (you can enable or disable right click to select in the- Selection
tab of the panel). Hovering on the object will highlight the bounding box of the model, right clicking it will enable the movement of the object. Try dragging an object in 3D space, clicking and dragging one of the 3D axis arrows.
-
Undo the changes by pressing Undo from the tool bar or
- Ctrl
+- Z
until the object is back in its original position. -
Now press the first tool on the left in the tool bar:
- New
. This will open the Project window. -
Select an object with the
- Select objects
tool and you will see that the object information is updated in the Project window, including the object’s position, rotation and file name (archetype). Choose an object and click- Add to Project
. This will add the object to your ymap. Note: do not delete assets from the game map. Simply select an object that can be added to the project. -
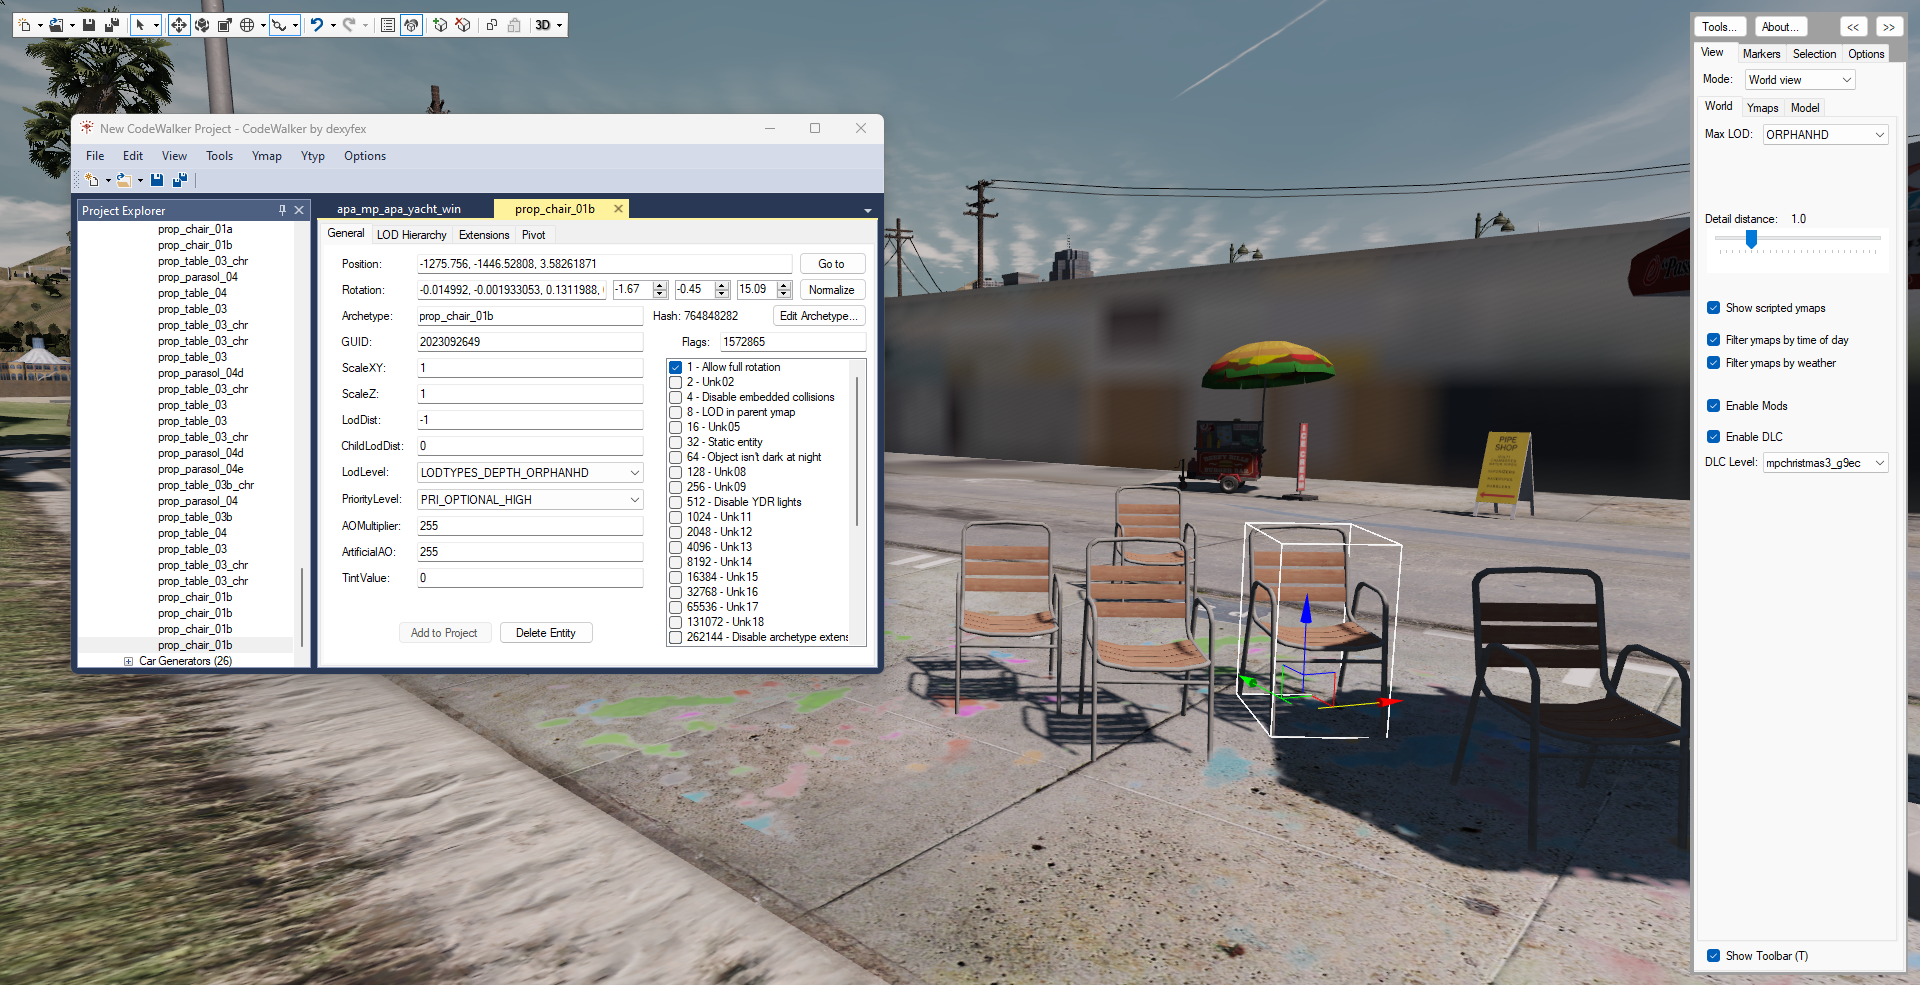
With the
- Select objects
tool and- Move
tool selected, hold- SHIFT
and drag the object to multiply the object. In this example a chair has been multiplied a few times, moved and rotated.
-
Once you are happy with your changes, go to
- File
>- New
>- Ymap File
in the- Project
window. This creates a new ymap called map1.ymap. -
You can also add objects that are not in the immediate vicinity of the location you want to add them to. Select map1.ymap in the
- Project
window, and from the window menu press- Ymap
>- New Entity
. This will create a default egg. In the- Project
window go to the field Archetype and replace the file name with the one of the object you want. You can refer to this database to find the file name reference of each object easily (or use the- Select objects
tools and copy the Archetype info from your desired object). -
Once you are done click on the
- Save
icon and save your file in a folder titled YMAP. -
Go to
- Open IV
>- mods
>- update
>- x64
>- dlcpacks
, click- Edit Mode
and create a folder named custom_maps. Inside the folder copy the file dlc.rpf that you can find here. -
Now go to
- Open IV
>- mods
>- update
>- update.rpf
>- common
>- data
. Find- dlclist.xml
, right click on it and choose- edit
. Scroll to the end of the file and add- dlcpacks:/custom_maps/
above and- save
. -
Finally go to
- Open IV
>- mods
>- update
>- x64
>- dlcpacks
>- custom_maps
>- dlc.rpf
>- x64
>- levels
>- gta5
>- _citye
>- maps
>- Custom_maps.rpf
. Make sure- Edit Mode
is on and place your map1.ymap file here. -
Now open GTA V and go to the location where you made the changes and see if the new objects are there.
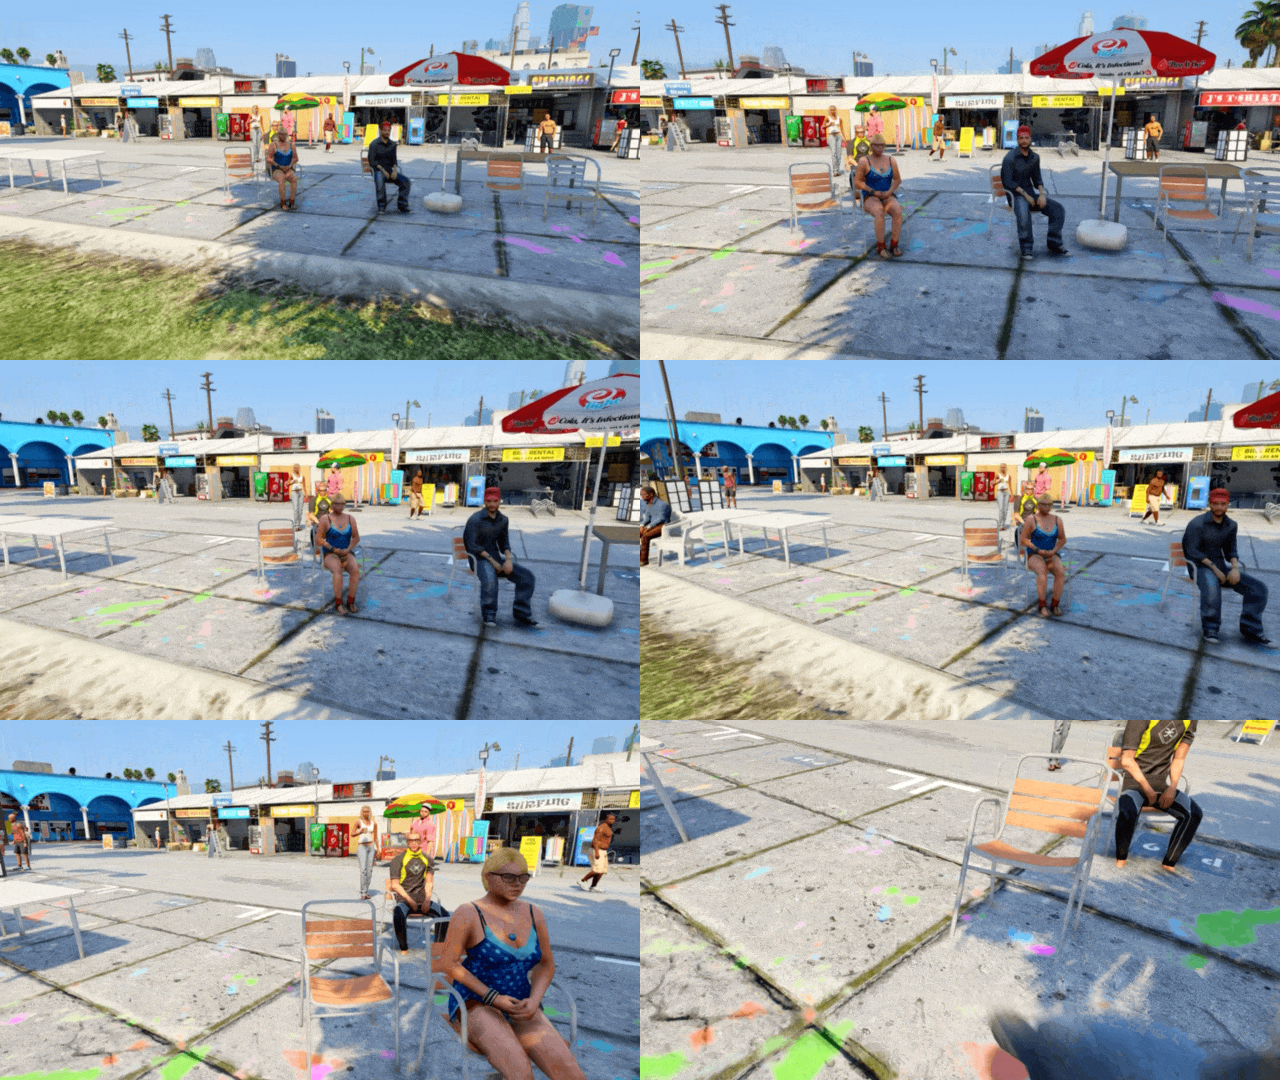
- Depending on the kind of objects you have placed, and the flags you set, you will be able to interact with them, and the game will also recognize them and spawn some NPCs on them.