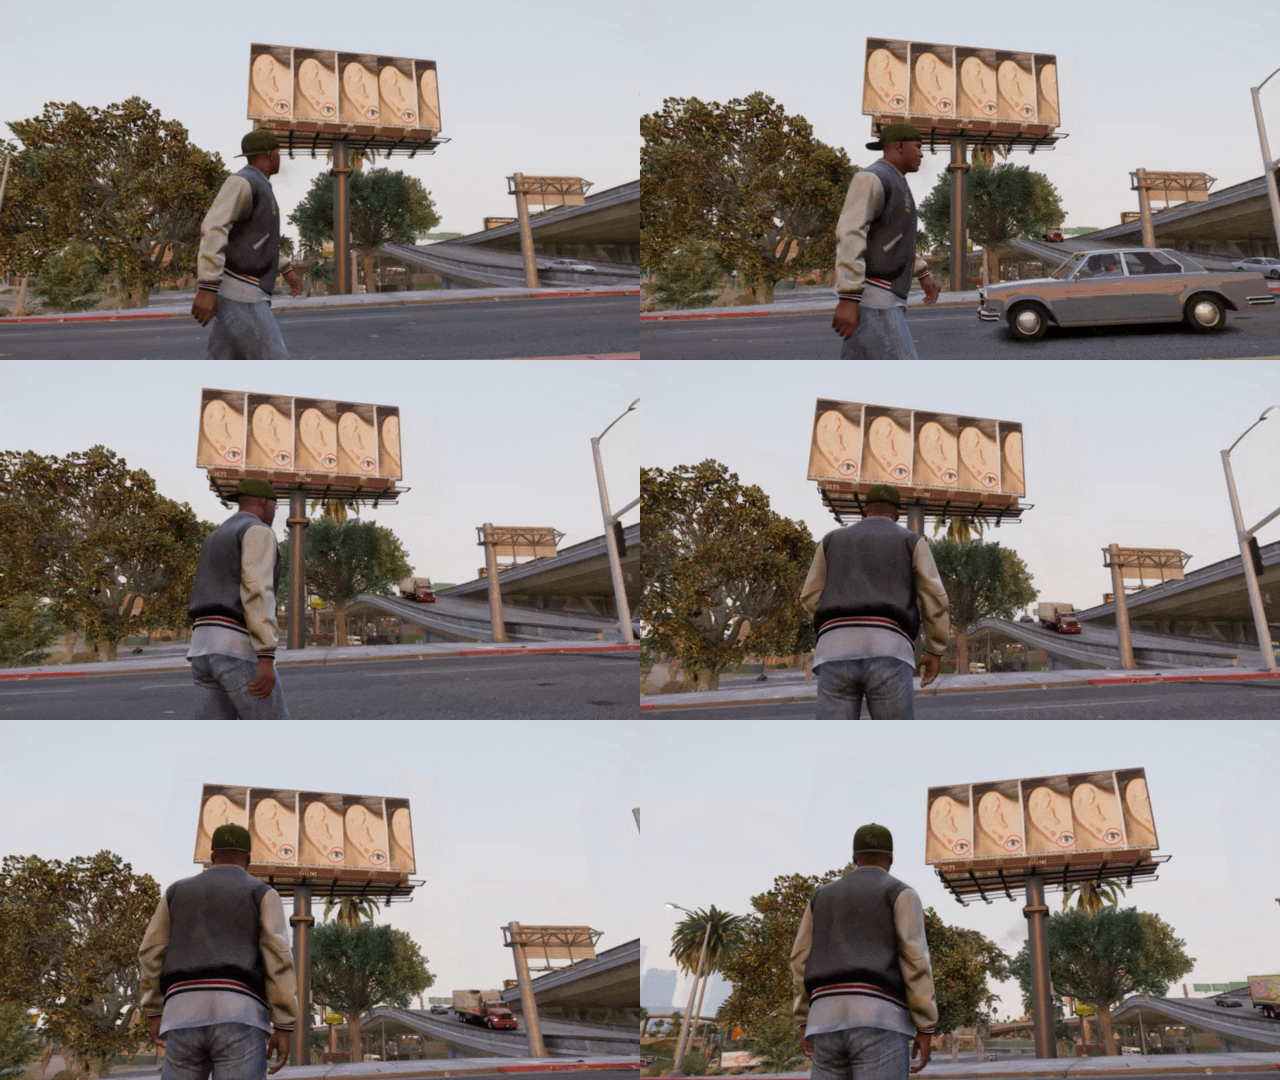
Replacing Textures
Another way in which you can intervene in the game world and modify it, is to replace existing images with custom ones. Every object in the game is made of a 3D model and one or more texture files attached to it. Textures are 2D image files that are applied to 3D surfaces. In this example you will swap the existing image of a billboard banner with a custom image.
You will need CodeWalker to find the texture files in the game. For editing textures in game, you need two additional pieces of software installed before you go ahead: Adobe Photoshop and NVIDIA Texture Tools Exporter Plugin for Adobe Photoshop. Note that versions prior to Photoshop CC (5.0 - CS6) require the legacy version of the plugin.
- Open CodeWalker and find a texture you want to replace. Use the
- Select
tool to move objects around until you find where the texture you want to change. You are going to replace a billboard banner with a custom image. More specifically you will modify the banner containing the “Fame or Shame” poster. Here it will be replaced with the posters of the exhibition How to Win at Photography, but you can choose any graphics. In this case you can see that the billboard structure is not part of the image, and that the banner is actually part of the ground model.
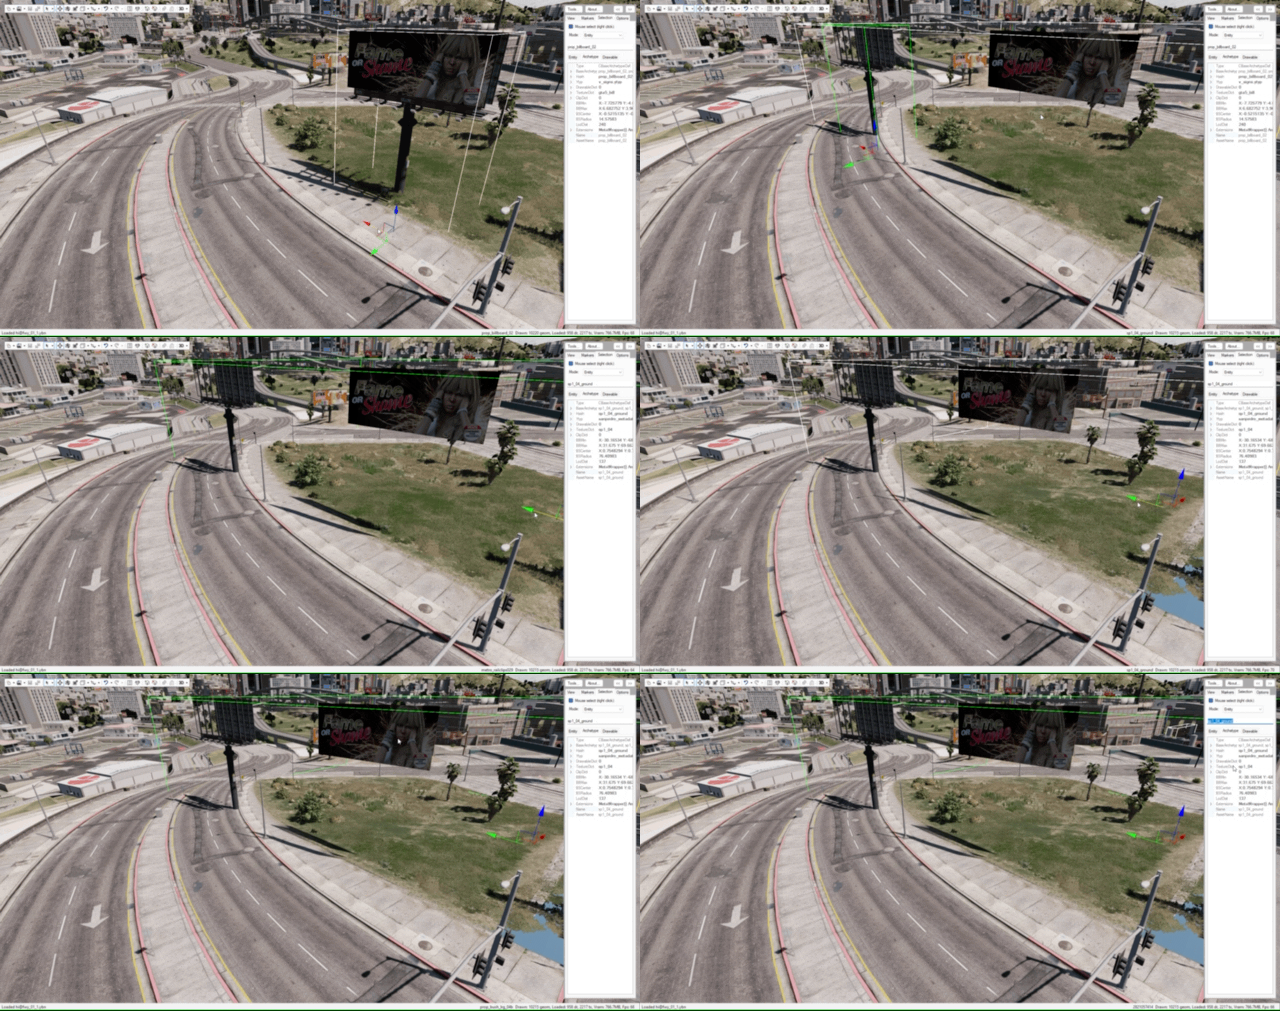
-
In the CodeWalker panel on the right go to
- Selection
and click on the tab- Archetype
. Below you can find the field- TextureDict
, which contains the filename of the .ytd texture dictionary file. In the case of the banner example the file is "sp1_04". -
Open Open IV and copy “sp1_04” into Open IV’s search bar on the top of the window. Then click on
- Search “sp1_04” in all archives
under the “No items match your search” text. Select and double click on “sp1_04.ytd” and click on- Copy to the “mods” folder
. This will create a duplicate of the files so that you can make changes to them without corrupting the original files.
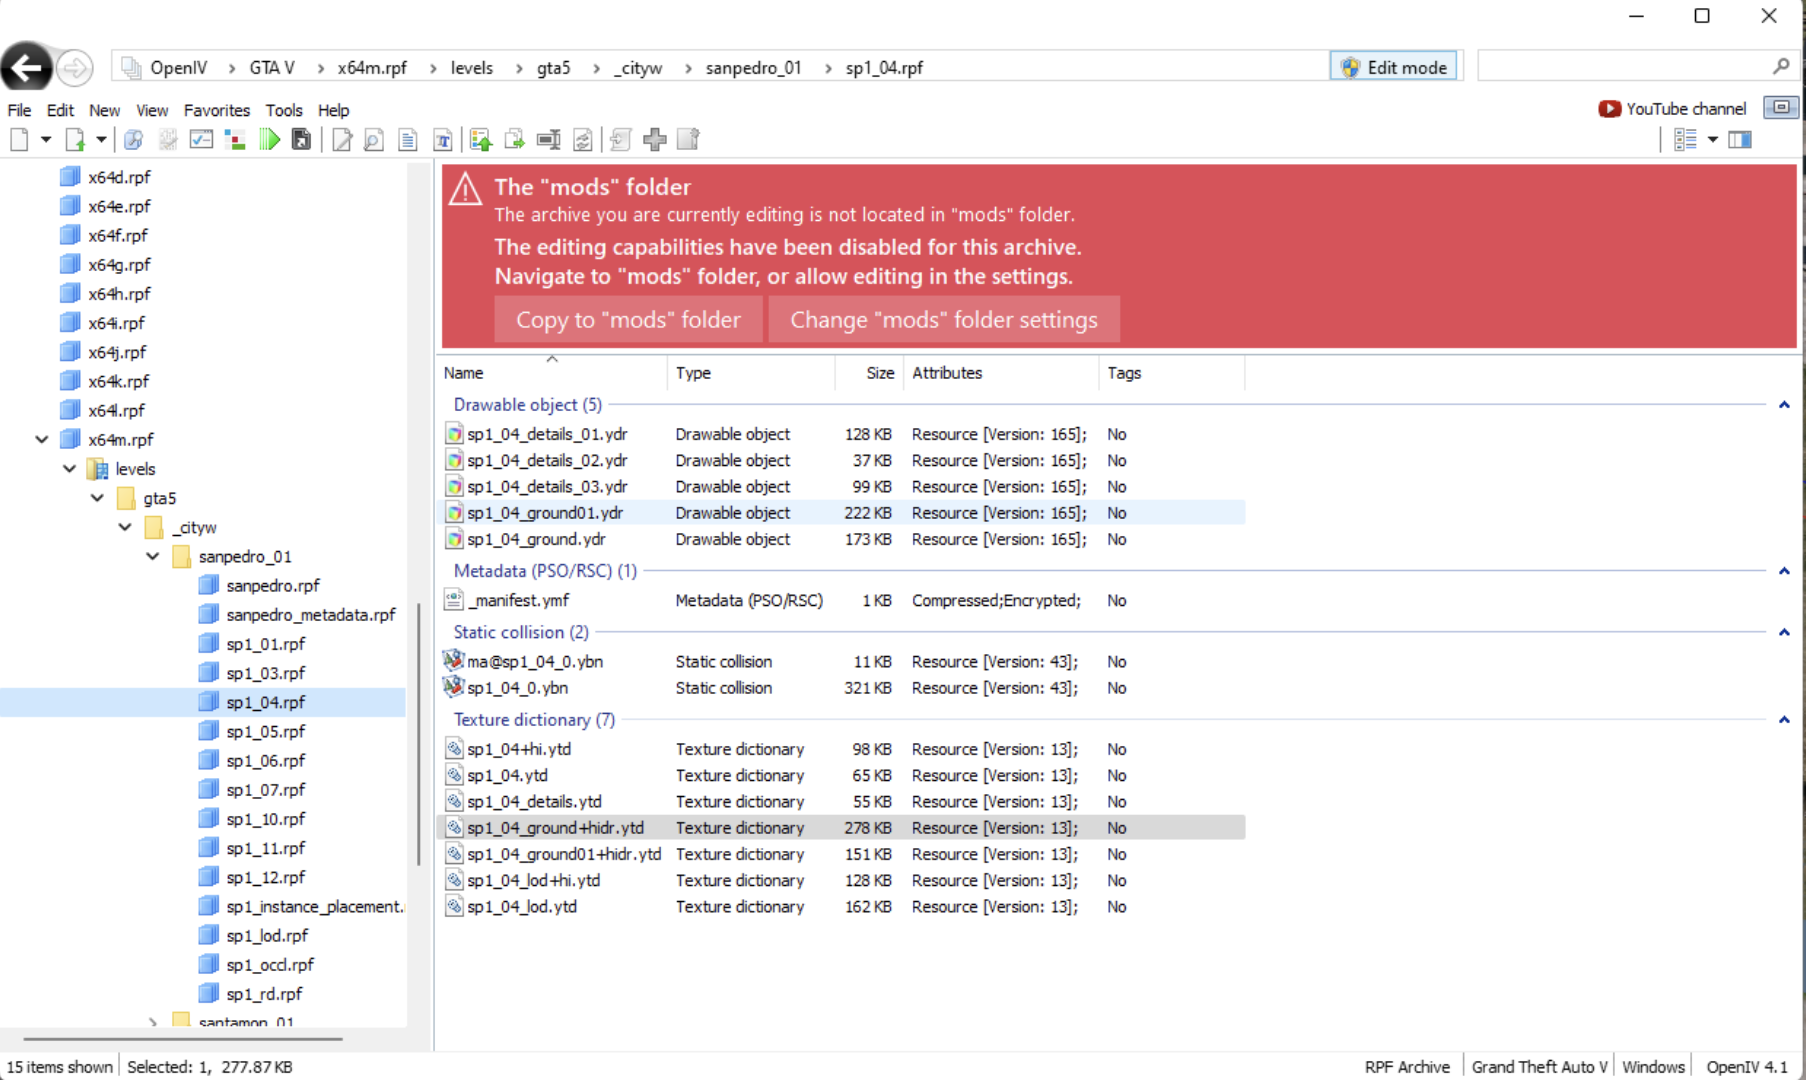
-
Note that you will find both “sp1_04.ytd” or “sp1_04+hi.ytd” files. These .ytd files are textures that are applied to the 3D model for different level of details (LOD), meaning the two files are loaded by the game when the camera is closer and further from the object respectively. After editing and replacing “sp1_04.ytd” you can go back do the same process for “sp1_04+hi.ytd” as well, so that the edited billboard will appear the same at a further distance.
-
In Open IV make sure to have
- Edit mode
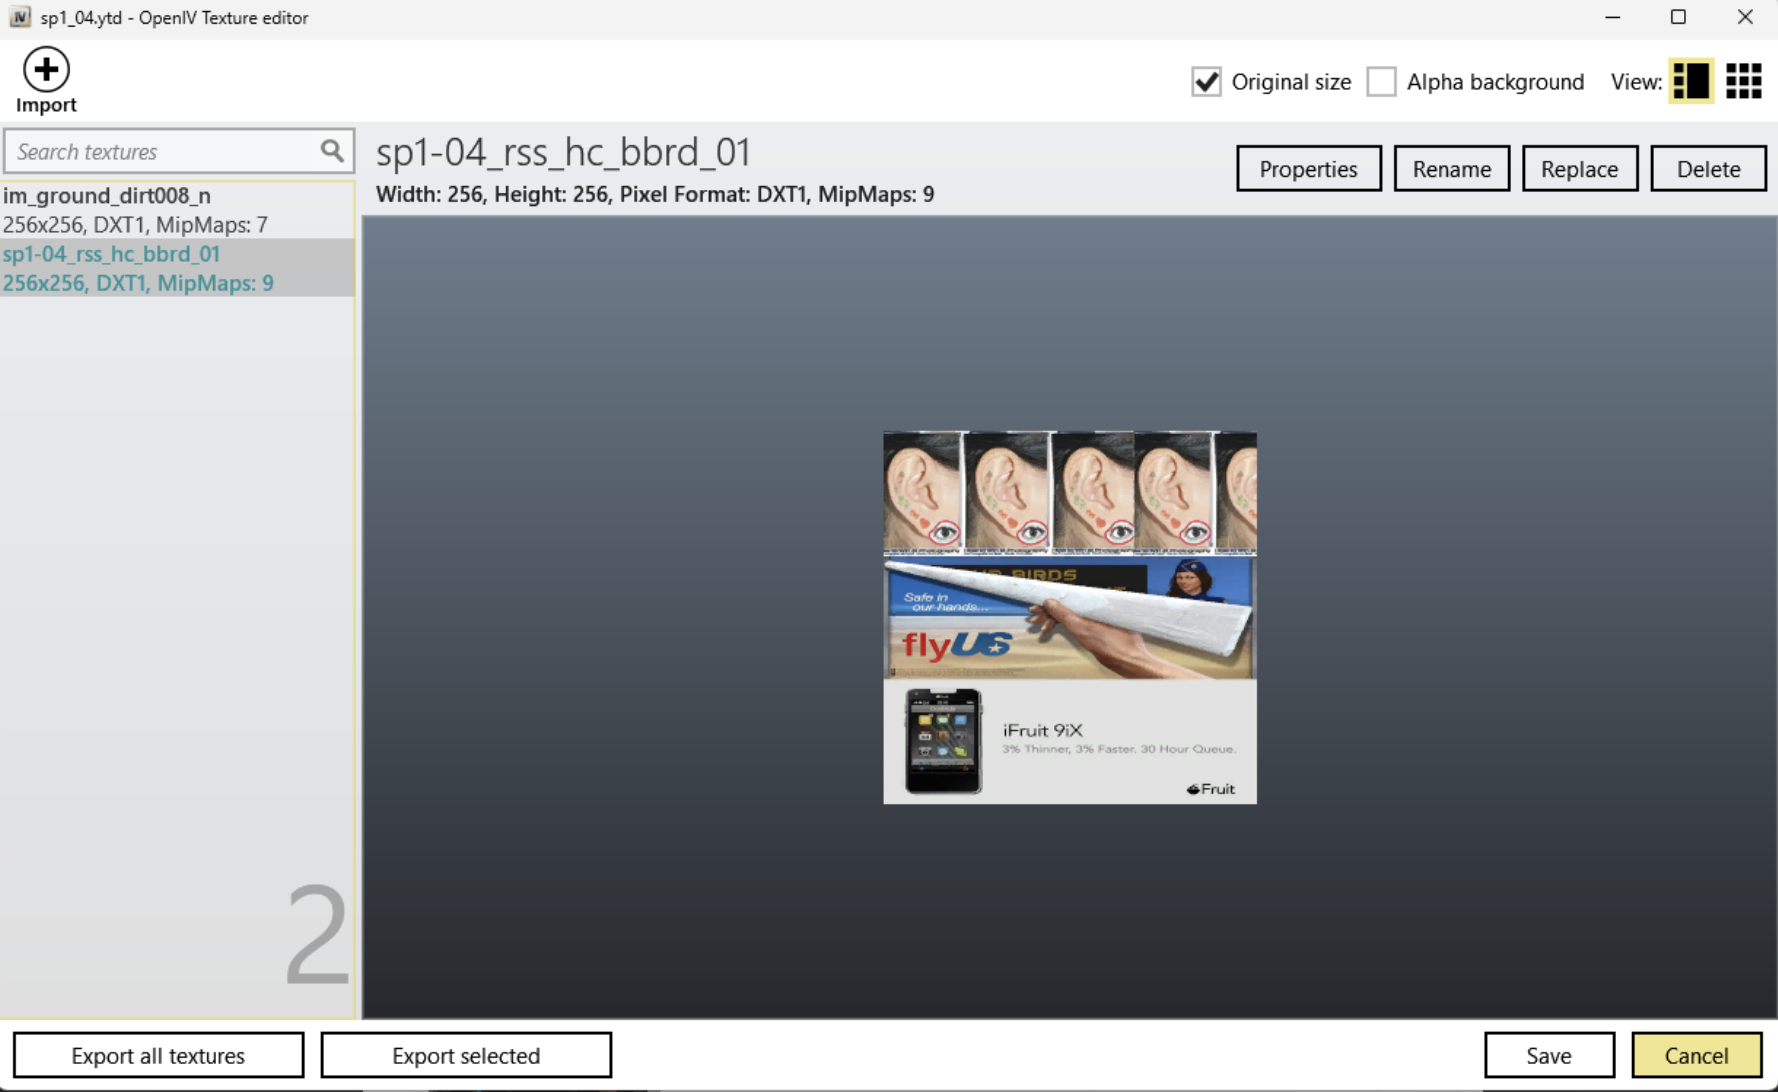
enabled, and double click on “sp1_04.ytd” to bring up the Open IV Texture Editor. Inside the .ydt texture dictionary file you will see all the individual .dds image files contained in it. You have 2 files in “sp1_04.ytd”. You can preview them by selecting them and you can find the banner image you want to edite in “sp1_04_rss_hc_bbrd_01”. Select that, click- Export selected
and save the file somewhere on your computer.
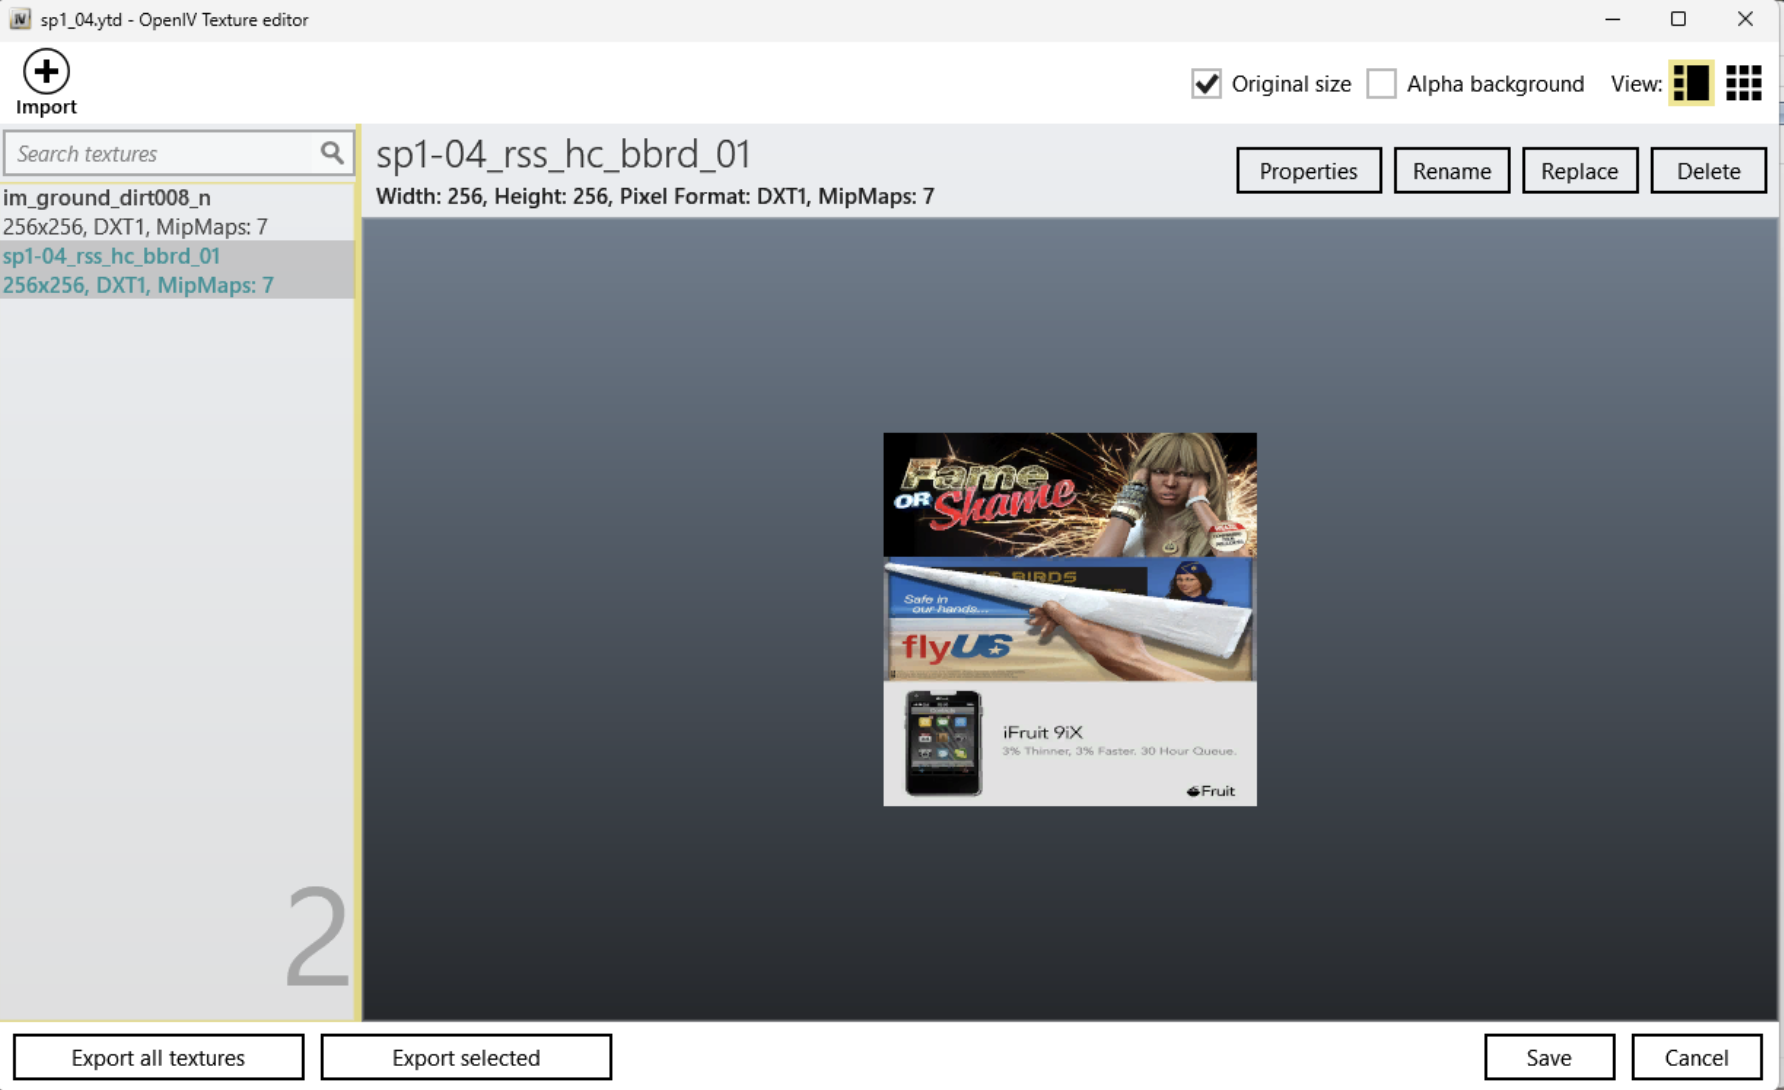
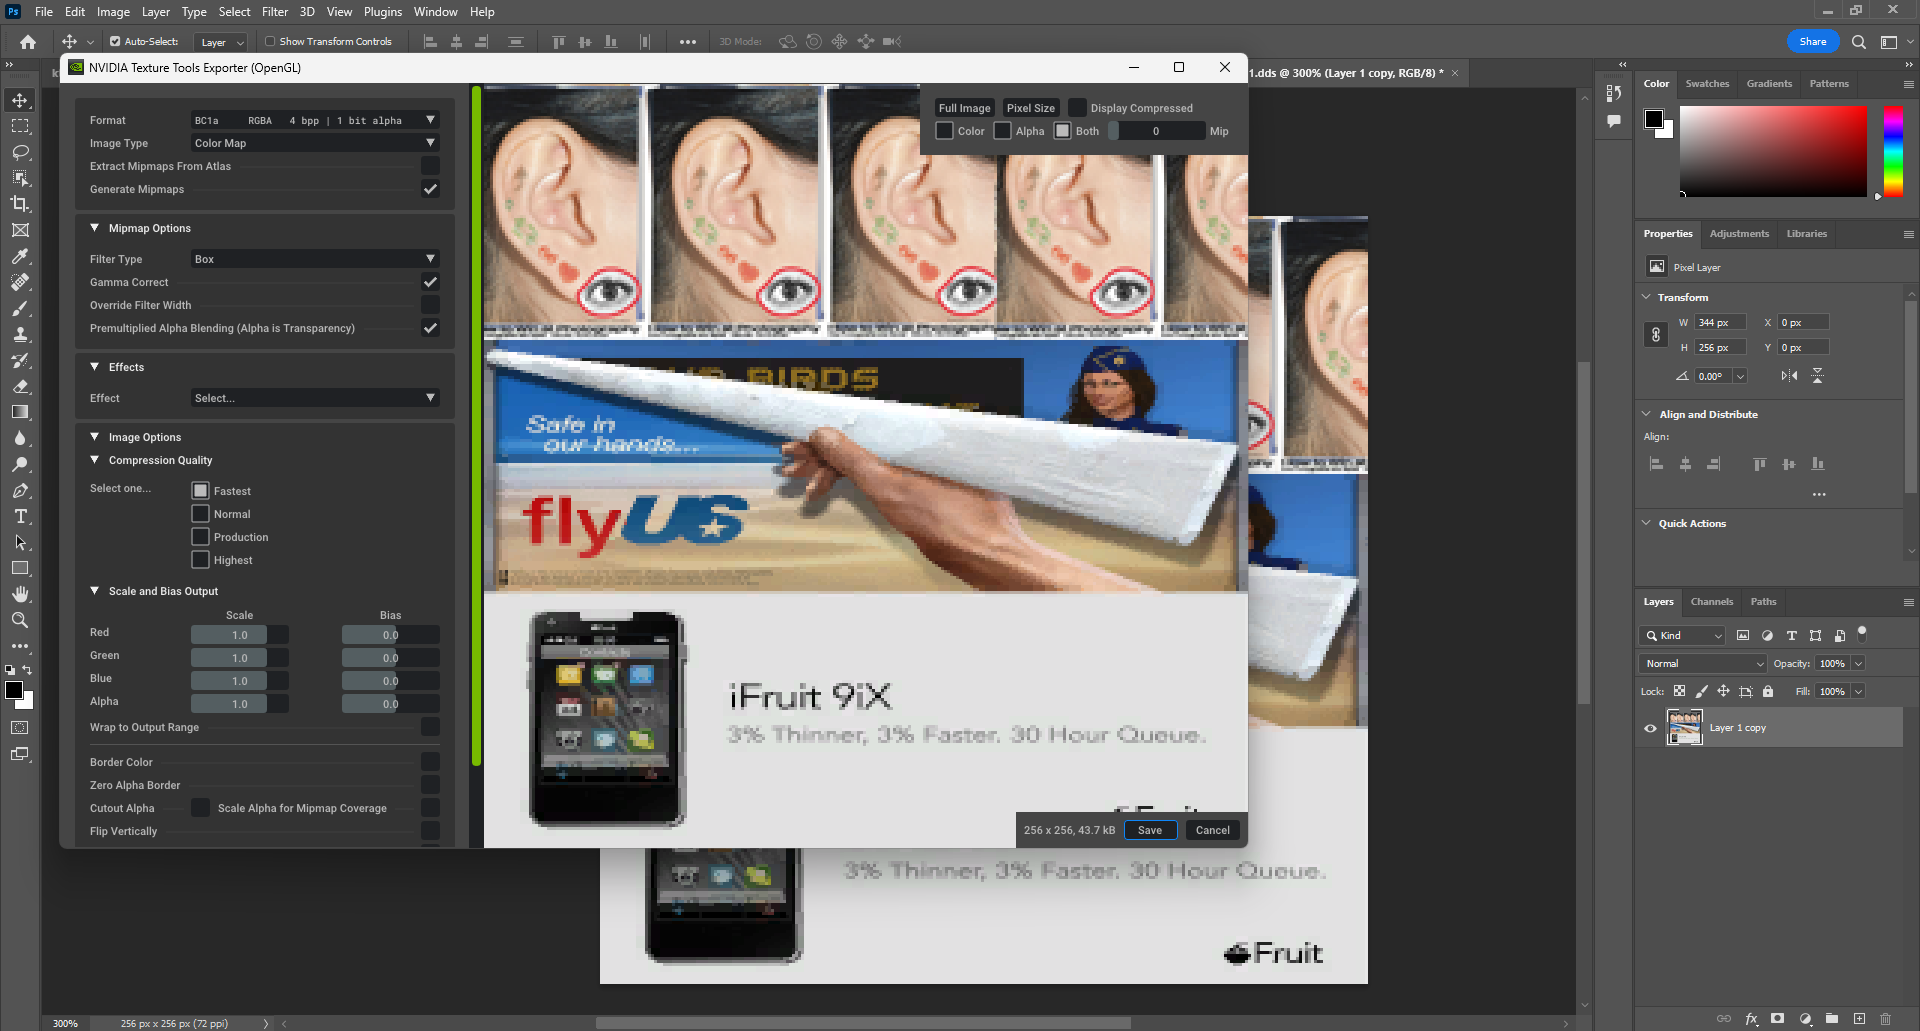
- You can open the file you saved in Photoshop. Modify the image as you want and then flatten all layers (
- CTRL
+- E
) in Photoshop. Then choose- Save a copy
, select- .DDS
type file and replace the file. The NVIDIA DDS Plugin interface will pop up. Here it’s important to set the file type to the same kind as the original .dds file. In this example the file is a DXT1 type, which is equivalent to the “BC1a 4bpp with 1 bit alpha” option. Select that and click- Save
.
- Close Photoshop and back in Open IV go back to “sp1_04.ytd” and bring up Open IV Texture Editor. Select “sp1_04_rss_hc_bbrd_01” again and now click
- Replace
. Select the modified file from your computer and click- Save
.
-
Do the same for “sp1_04+hi.ytd”. Try to make the image as similar as possible so that when the game switches between the files (according to the player distance) the change is seamless.
-
When all the textures are modified with your custom image, relaunch CodeWalker and verify that the image has changed.
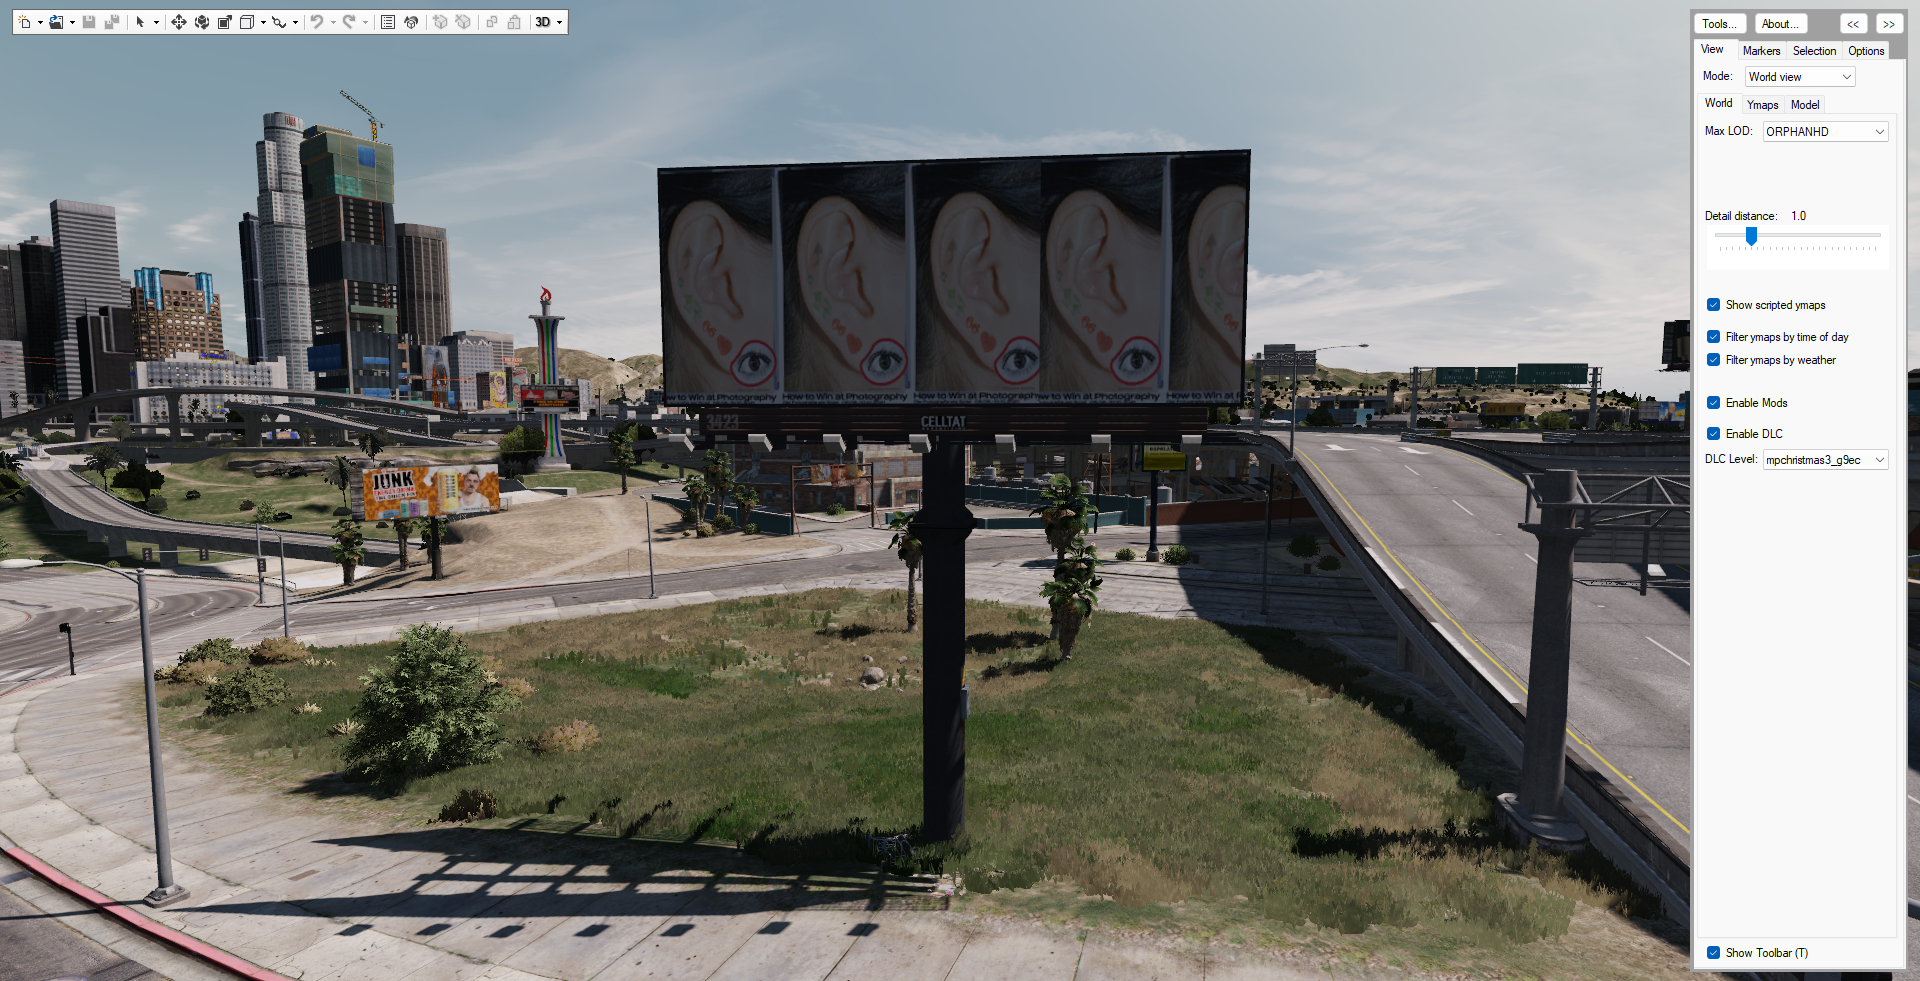
- Finally launch GTA V and you should be able to find your texture appearing inside the game.
